Create Zone Groups
To create zone groups, follow the steps below.
-
In the menu bar at the top, open the Planning menu and
select Add Zone Group.
 Tip:Alternatively, you can right-click on the zone group object in the object tree and select Add Zone Group.
 -
The QSP will prompt you to give the Zone Group a name.
 Note:This name can be edited later if needed by selecting the Zone Group in the object tree on the left and editing the text in the Name box shown in panel on the right.
 -
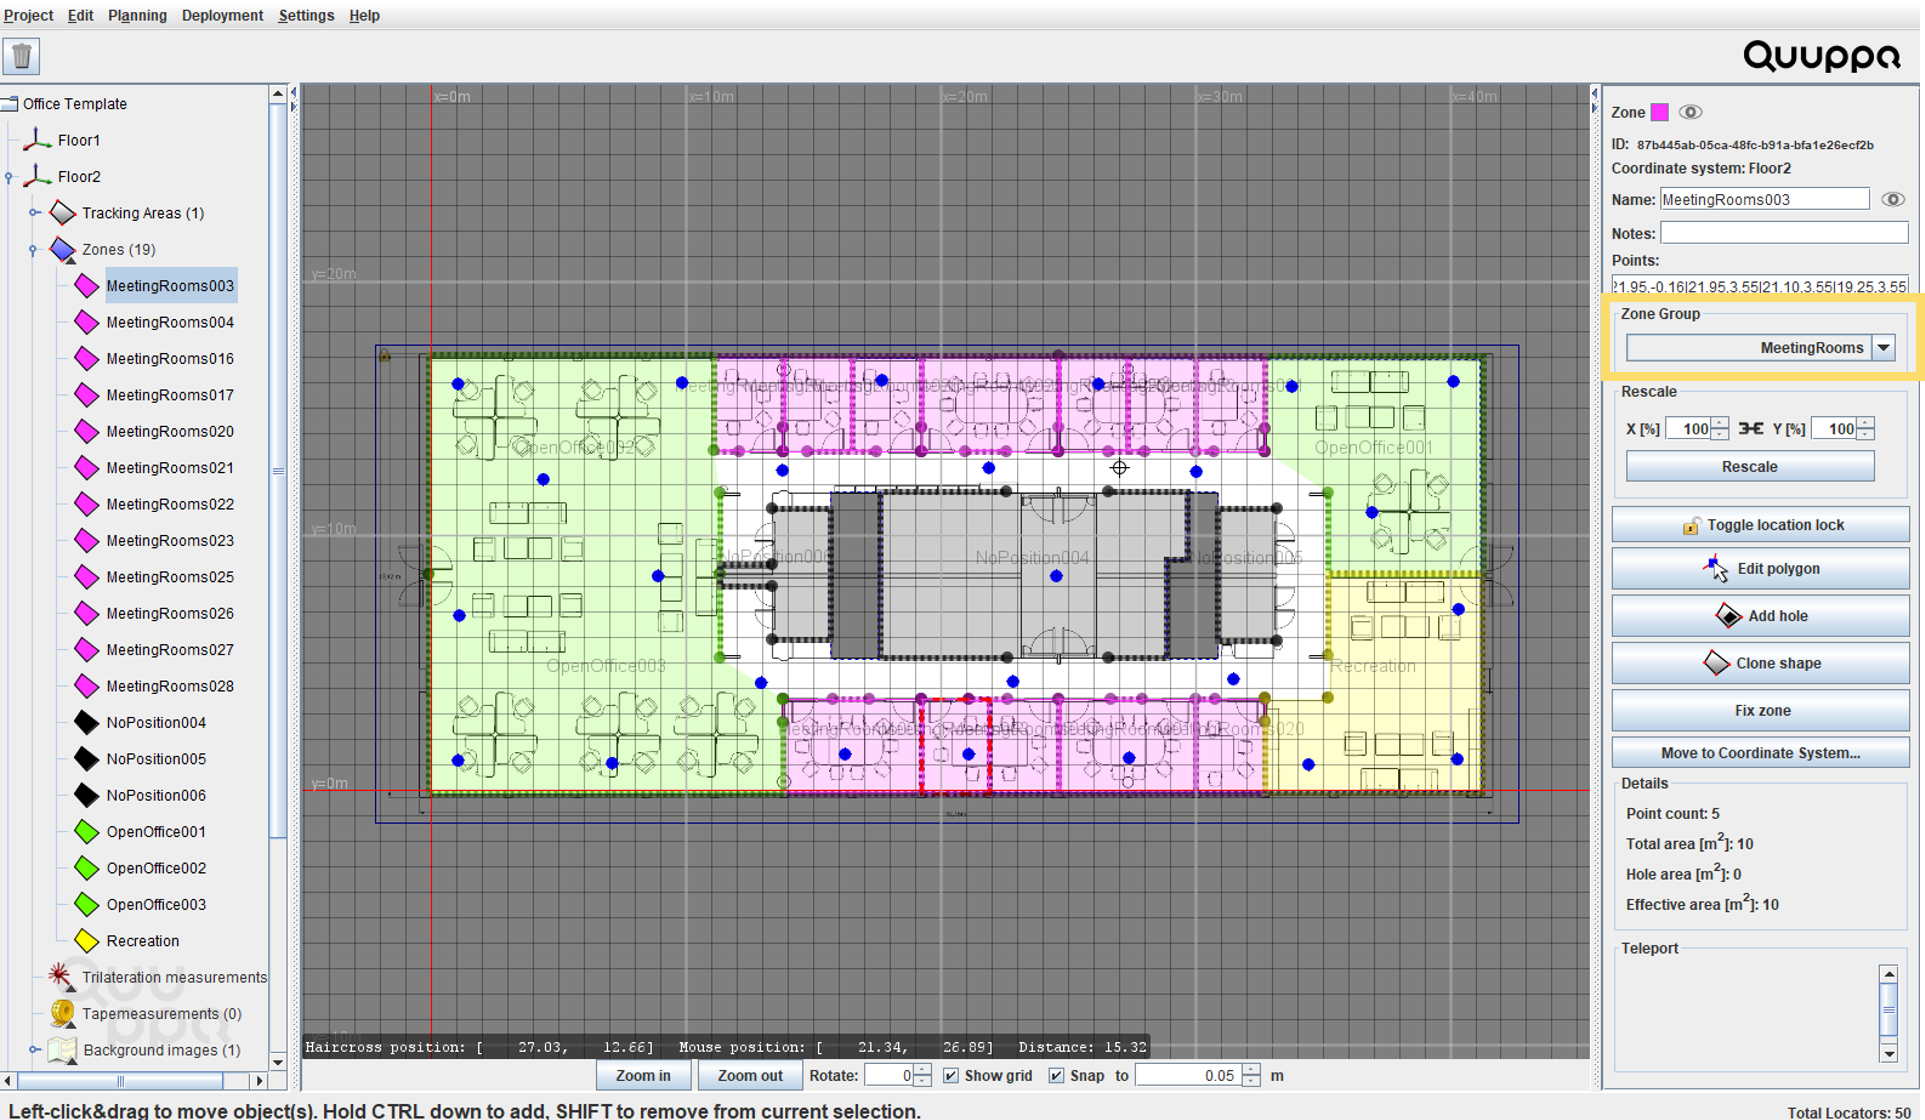
Edit the zone group properties in the panel on the right as needed. For
example, you can edit the colour, the name and notes for the Zone Group and the
location-based commands for zones in this group. You can also create zones that
do not report location data by selecting either All tags or
Custom for the Do not report
location setting.

-
Add the relevant zones to the Zone Group by selecting them in the object tree
on the left and changing the Zone Group setting in the panel on the right. This
can either be done one by one or by selecting several zones at once and editing
their Zone Group simultaneously.