
Autoconfigure Tags
To autoconfigure the tags, follow the steps below:
-
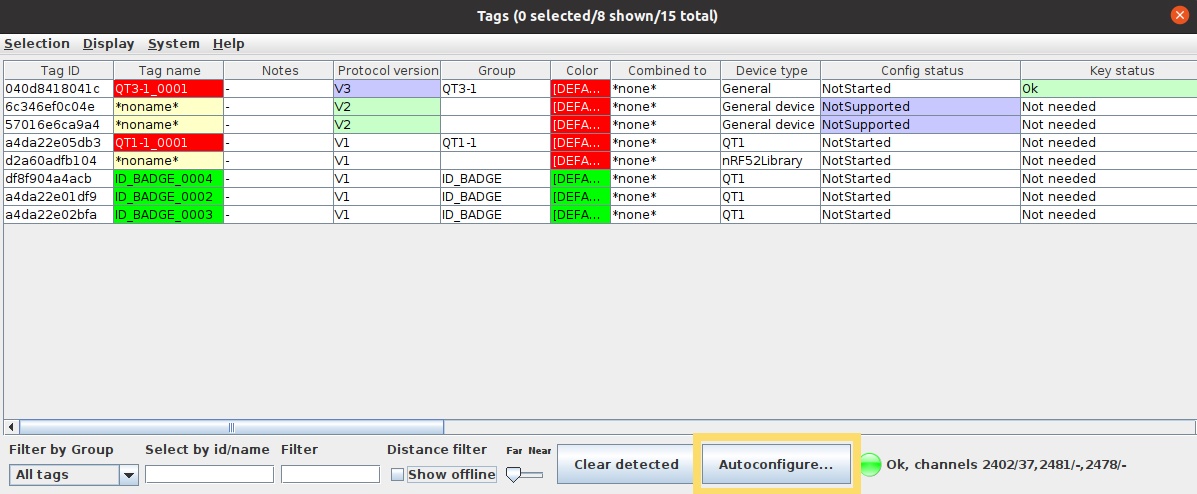
Click the Autoconfigure... button in the tag configurator
tool.
-
In the window that opens, select the Tag Group to which the tag(s) will
be assigned. For example, in the image below, the tags will be assigned to the
Employees Tag Group, which uses the
ID_BADGE tag configuration and
Proprietary channel.
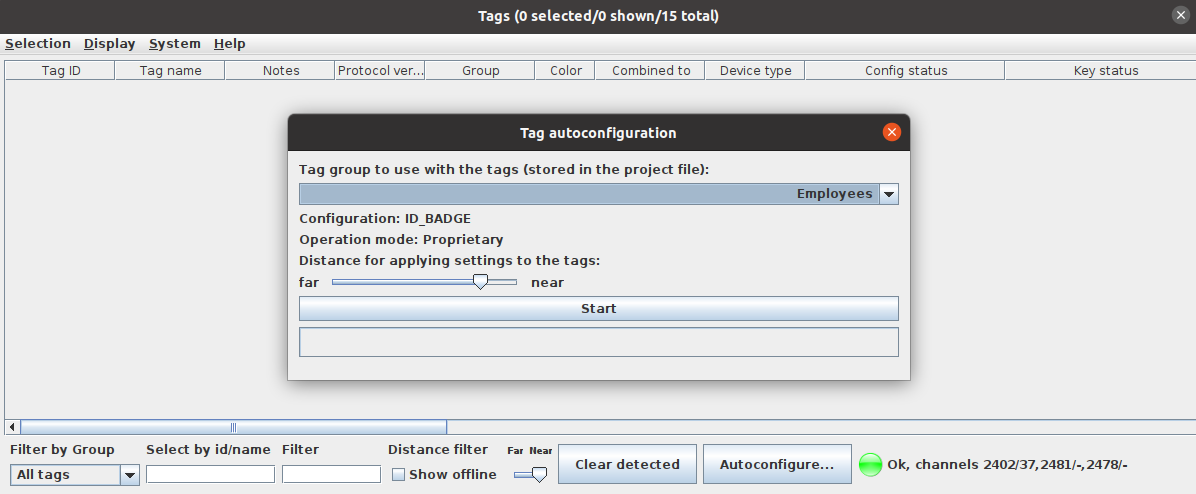 Tip: If you have many tags in the area, you may want to use the Distance filter slider at the bottom of the window to adjust the sensitivity of the Focusing Locator so that it only picks up and configures tags close to it.
 - Click the Start button to start configuring the tags according to these settings.
-
Push the button on the tags to "wake them up" and place them on top of the
Focusing Locator. The tags will appear in the Tag configurator
tool window.
Tip: You can configure a multiple sets of tags just by placing them on top of the Focusing Locator, waiting for the upload to finish, them replacing the tags on top of the Focusing Locator with a new set of tags.Note: Some Quuppa Compatible tags might have a different activation methods. Please refer to your tag manufacturer's instructions on how to active the tags.
-
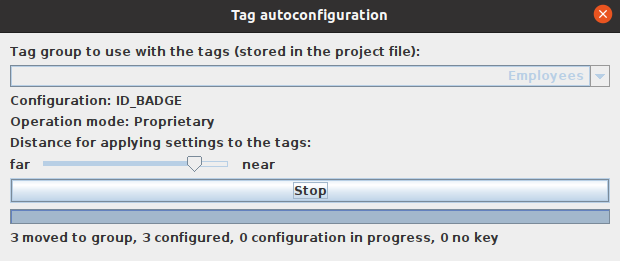
Once the configuration status for each tag shows Done, click the
Stop button. The upload is ready when the system informs you that 'N
moved to group, N configured, 0 configuration in progress, 0 no key'.
- Remove the tags from the Focusing Locator.