Enable High Contrast Coverage Estimate
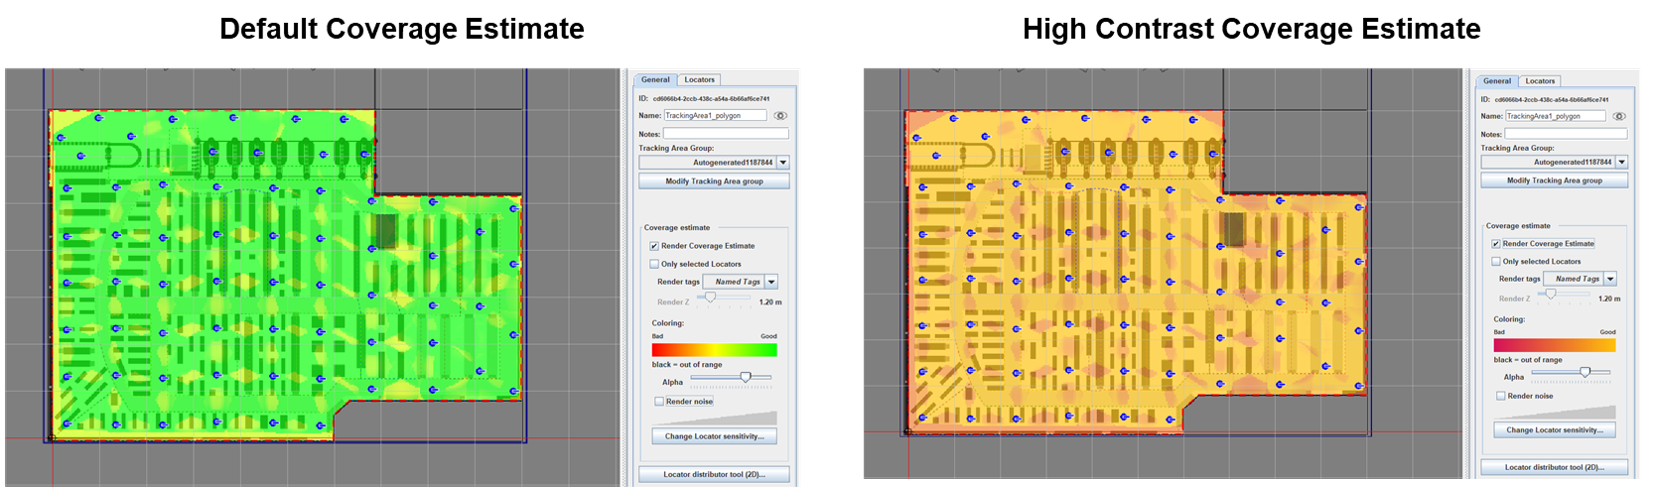
However, the default colours used (red and green) can be difficult to distinguish for some users. For this reason, we have added an option in the application settings that can be used to turn on a high colour contrast version of the rendering that can be easier to use for those with visual impairments. The image below shows the difference in the coverage estimate renderings for the same project, with the only change being whether or not the high colour contrast estimate has been enabled or not.
To enable the high contrast colours for the coverage estimate tool, follow the steps below.
- Open the QSP.
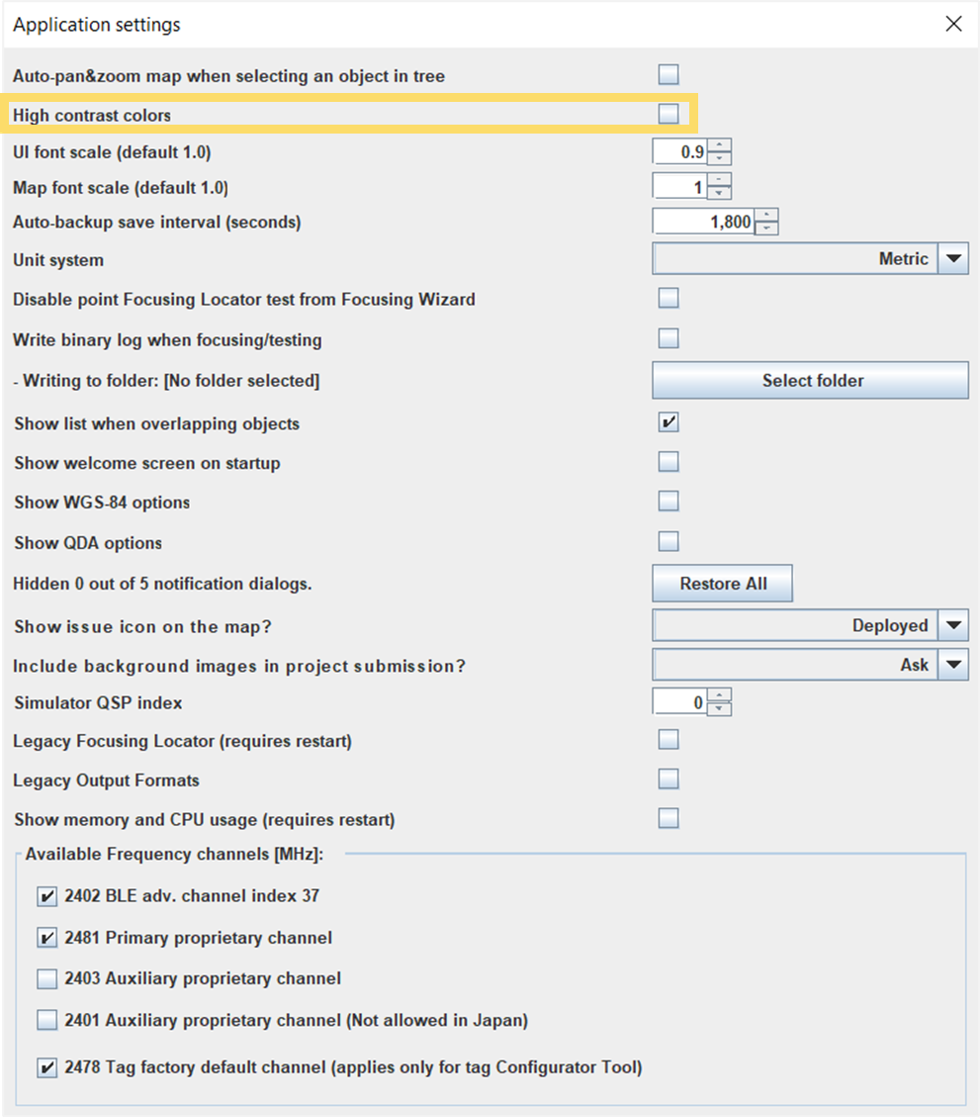
- In the menu bar at the top, select the Settings menu and select Application Settings. The Application Settings window will open.
-
Use the checkbox for High contrast colors to enable the
high contrast render estimate for the map view.
- Close the application settings window.
-
To start using the high contrast render estimate, open the tracking area you
want to evaluate and enable the Render Coverage Estimate in the object info
panel on the right. This will activate the visualisation in the map view. For
more details, follow the steps outlined in the Apply Coverage Estimate
section of this guide.
Tip: If you already had the render coverage estimate tool on before you changed the settings, the visualisation will not update automatically. To update the visualisation, deactivate the tool by unchecking the Render Coverage Estimate checkbox in the QSP's object info panel on the right before selecting it again.
-
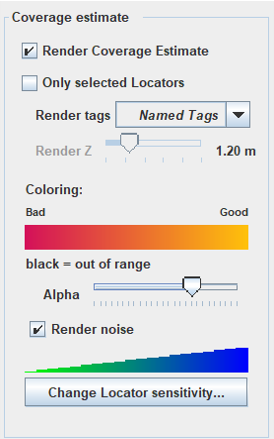
Use the scale in the object info panel on the right to interpret the
results.