Add Zones
Note: The QPE will continuously check each tag's location against the defined zones
in the project to determine which tags are in which zones. The total amount of
zones you can have will depend on the system capacity. You can use the Quuppa
System Simulator (QSS) to effectively evaluate whether you have sufficient
capacity for your project. We recommend that you aim to limit the use of zones
to areas where you actually need zonal information. A good rule of thumb is to
limit the number of zones to a maximum of about 100.
To add new zones to your project file, follow the steps below.
- Open the project in the QSP.
- In the object tree on the left, select the coordinate system where you want to add the zone.
-
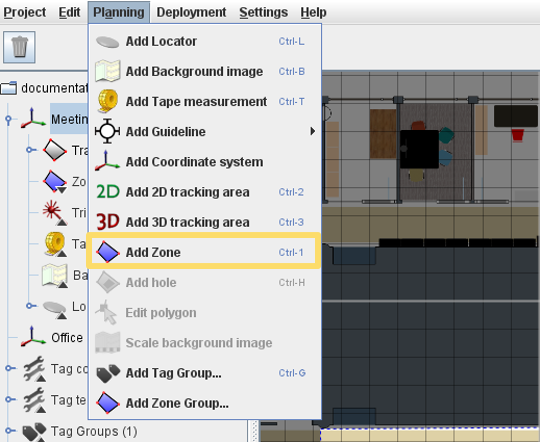
In the menu bar at the top, open the Planning menu and
select Add Zone.
 Tip: Alternatively, you can right-click on the zone object in the object tree and select Add Zone or use the shortcut ctrl + 1.
 -
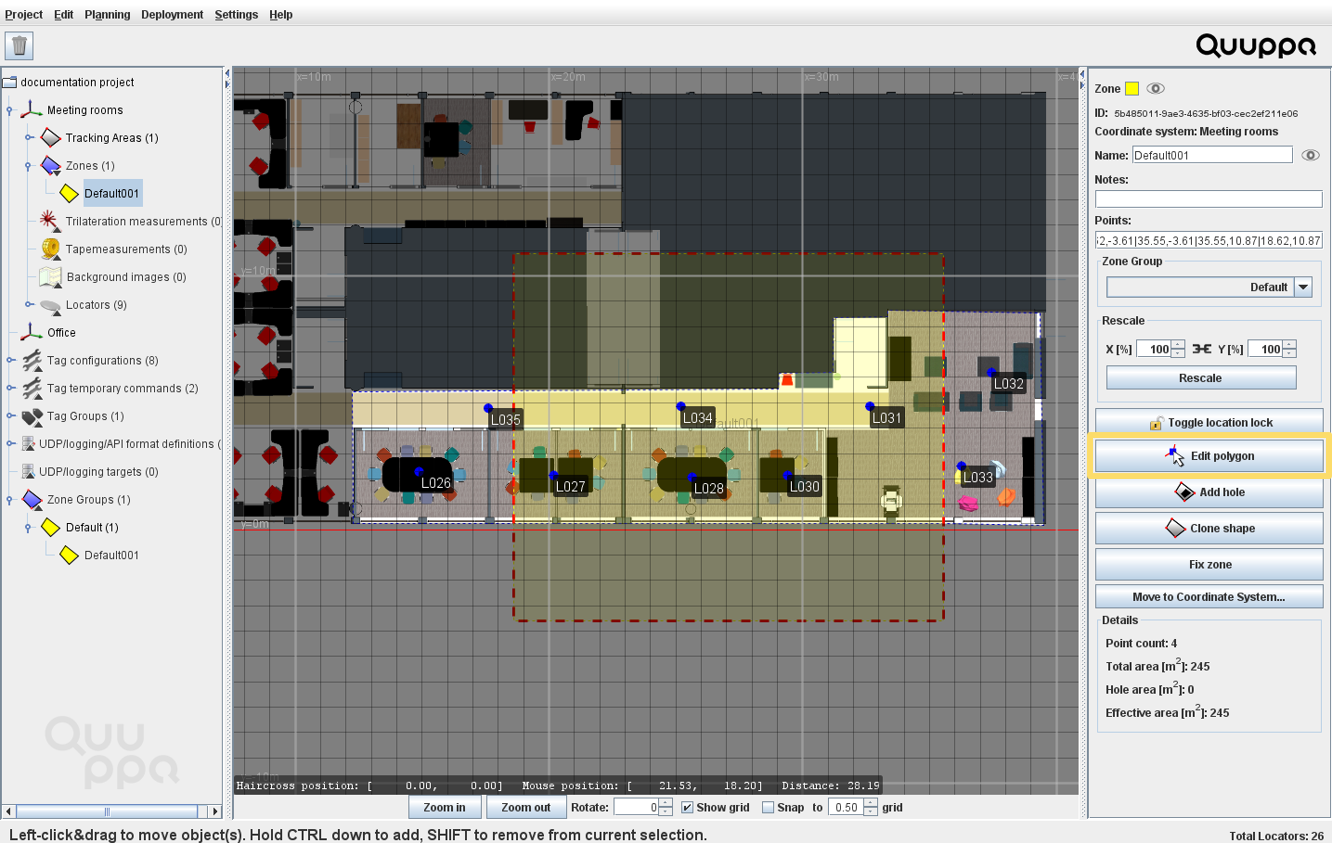
A zone polygon will be added to the map view. To enable editing, click on the
Edit polygon button in the panel on the right.

-
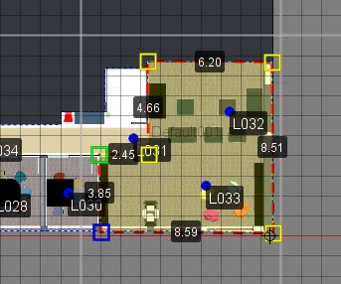
Edit the polygon position and shape as needed by dragging and dropping the
polygon corner markers into the right places. To get guidelines for
perpendicular lines, you can hold down the ctrl +
shift as you edit the polygon.
Tip: To add polygon markers, click on the polygon edge. To remove polygon markers, right-click in the polygon market that you want to remove.

-
Edit the zone properties according to the needs of your project. For more
details on zone properties, see the Edit Zone Properties
section.
Tip: To enable temporary location-based commands for this zone, add it to a Zone Group and edit the group configurations accordingly. For more information, please see the Enable Location-Based Temporary Commands and Create Location-Based Temporary Commands sections of this guide.
